Written by Erik-Jan van Kesteren
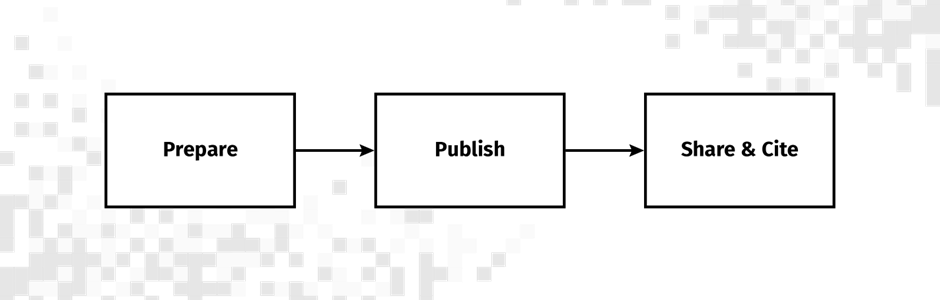
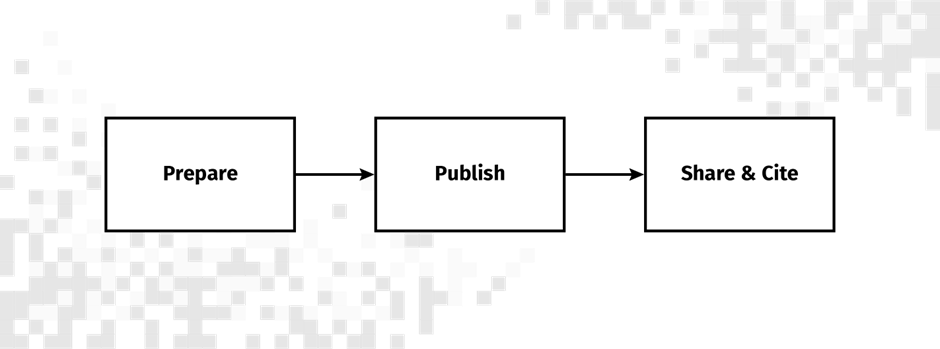
With the increasing popularity of open science practices, it is now more and more common to openly share data processing and analysis code along with more traditional scientific objects such as papers. There are many benefits to doing so: it makes your work more easily verifiable, reproducible, and reusable. But what are the best ways to create an understandable, openly accessible, findable, citable, and stable archive of your code? In this post, we look at what you need to do to prepare your code folder and then how to upload it to Zenodo. Note that this is one of many ways to achieve this goal, and if you’re starting a new project it is worth planning for code sharing ahead of time.
Prepare your code folder
To make code available, you will be uploading it to the internet as a single folder. The code you will upload will be openly accessible, and it will stay that way indefinitely. Therefore, it is necessary that you prepare your code folder (also called a “repository”) for publication. This requires time and effort, and for every project the requirements are different[1]. Below you can find a small checklist:
Must-haves
- Make a logical, understandable folder structure. For example, for a research project with data processing, visualization, and analysis I like the following structure:
my_project/
├─ raw_data/
│  ├─ questionnaire_data.csv
├─ processed_data/
│  ├─ questionnaire_processed.rds
│  ├─ analysis_object.rds
├─ img/
│  ├─ plot.png
├─ 01_load_and_process_data.R
├─ 02_create_visualisations.R
├─ 03_main_analysis.R
├─ 04_output_results.R
├─ my_project.Rproj
├─ readme.md
- Make sure no privacy-sensitive information is leaked. Remove non-shareable data objects (raw and processed!), passwords hardcoded in your scripts, comments containing private information, and so on.
- Create a legible readme file in the folder that describes what the code does, where to find which parts of the code, and what needs to be done to run the code. For example, even if the code uses restricted-access data, a reference to the data should be included[2]. You can choose how elaborate to make the readme file! It could be a simple text file, a word document, a pdf, or a markdown document with images describing the structure. It is best if someone who does not know the project can understand the entire project based on the readme – this includes yourself in a few years from now!
Strong recommendations
- Reformat the code so that it is portable and easily reproducible. This means that when someone else downloads the folder, they do not need to change the code to run it. For example, this means that you do not read data with absolute paths (e.g.,
C:/my_name/Documents/PhD/projects/project_title/raw_data/questionnaire_data.csv) on your computer, but only to relative paths on the project (e.g.,raw_data/questionnaire_data.csv). For example, if you use the R programming language it is good practice to use an R Project. - Format your code so that it is legible by others. Write informative comments, split up your scripts in logical chunks, and use a consistent style (for R I like the tidyverse style)
Nice to have
- Record the software packages that you used to run the projects, including their versions. If a package gets updated, your code may no longer run! Your package manager may already do this, e.g., for python, you can use
pip freeze > requirements.txt. In R, you can use therenvpackage for this. - If you have privacy-sensitive data, it may still be possible to create a synthetic or fake version of this data for others to run the code on. This ensures maximum reproducibility.
Compressing the file folder
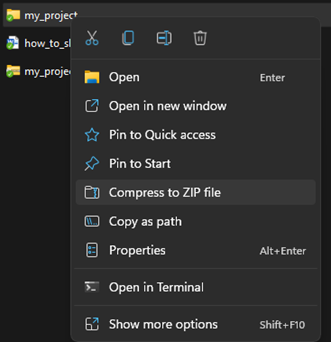
The last step before uploading the code repository to Zenodo is to compress the folder. This can be done in Windows 11 by right-clicking the folder and pressing “compress to zip file”. It’s a good idea to go into the compressed folder afterwards, check if everything is there, and remove any unnecessary files (such as .Rhistory files for R).
After compressing, your code repository is now ready to be uploaded!
Uploading to Zenodo
Zenodo[3] is a website where you can upload any kind of research object: papers, code, datasets, questionnaires, presentations, and much more. After uploading, Zenodo will create a page containing your research object and metadata about the object, such as publication date, author, and keywords. In the figure below you can see an example of a code repository uploaded to Zenodo.

One of the key features of Zenodo is that you can get a Digital Object Identifier (DOI) for the objects you upload, making your research objects persistent and easy to find and cite. For example, in APA style I could cite the code as follows:
van Kesteren, Erik-Jan. (2022). My project (v1.2). Zenodo. https://doi.org/10.5281/zenodo.6504837
Zenodo itself is fully open source, hosted by CERN, and funded by the European Commission. These are exactly the kinds of conditions which make it likely to last for a long time! Hence, it is an excellent choice for uploading our code. So let’s get started!
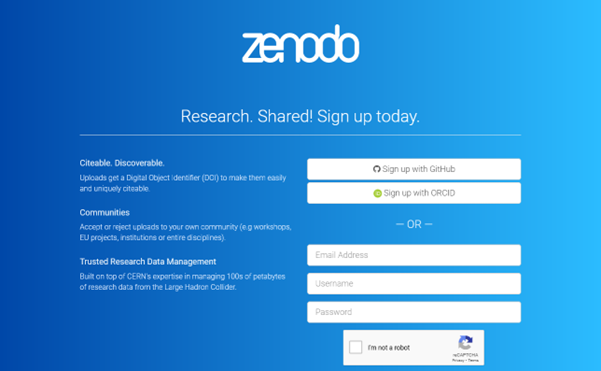
Create an account
To upload anything to Zenodo, you need an account. If you already have an ORCID or a GitHub account, then you can link these immediately to your Zenodo login. I do recommend doing so as it will make it easy to link these services and use them together.
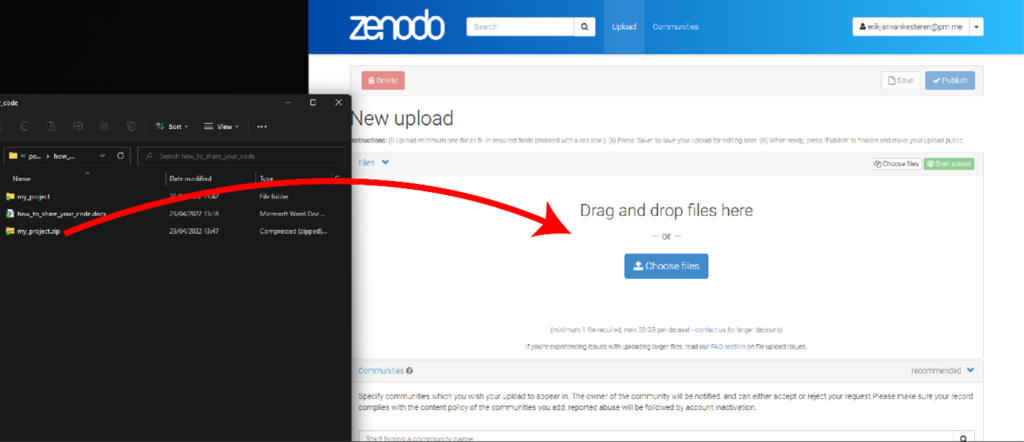
Start a new upload
When you click the “upload” button, you will get a page where you can upload your files, determine the type of upload, and create metadata for the research object. Now zip your prepared code folder and drag it to the upload window!
Fill out the metadata
Most of the metadata, such as author and institution, will be relatively simple to fill out. Here are some good defaults for a few of the remaining options:
- If the work is part of a community, you can associate the project with that community. For example, projects with support from the ODISSEI infrastructure should join that community: https://zenodo.org/communities/odissei.
- Another option you need to specify is the “upload type”. For code repositories, you can choose the “software” option.
- Pay close attention to the license: by default the CC-BY-4.0 license is selected. This is generally a good default, but for a short overview of what this means, see the creative commons website: https://creativecommons.org/licenses/by/4.0/. You can opt for a different license by including a file called LICENSE in your repository.

Publish!
The last step is to click “publish”. Your research code is now findable, citable, understandable, reproducible, and archived until the end of time! You can now show it to all your colleagues and easily cite it in your manuscript. If you get feedback and you want to change your code, you can also upload a new version of the same project on the Zenodo website.
Conclusion
In this post, I described a checklist for preparing your code folder for publication with a focus on understandability, and I have described one way in which you can upload your prepared code repository to an open-access archive. Zenodo is an easy, dependable and well-built option, but of course there are many alternatives, such as hosting it on your own website, on your University’s repository, using the Open Science Framework, GitHub, or using a publisher’s website; each has its own advantages and disadvantages. For instance, GitHub is advised if you want to keep track of versioning, whereas with OSF you can share anonymized data packages for blind peer-review. You should consider what is the best option for your research, and your community, and always check the funding and/or institutional requirements.
Relevant links
[1] For requirements on sharing larger software projects, see https://fair-software.nl.
[2] Ideally, a citation recommended by the data provider including a DOI or other persistent identifier.
[3] According to https://about.zenodo.org/, the name Zenodo is derived from Zenodotus, the first librarian of the ancient library of Alexandria and father of the first recorded use of metadata, a landmark in library history.